Sunday, July 30, 2017

IP Corn on the Cob

My husband loves corn.....I HATE CORN!!!!!  Well unless its corn on the cob or mixed into my food.  I think there is a reason we don't digest it the way some animals do.  Because humans shouldn't eat it.  However, I can't change my husbands favorite veggie so I am always looking for a way to cook it different and faster.  I like fresh corn on the cob because its juicier and cooks faster than corn that was picked 5 days ago or it seems that way.  I stumbled upon cooking corn this way because I was trying to use up a gallon of whole milk that was about to expire and I had already made 2 batches of baked goods to freeze and oatmeal for breakfast.   The only thing you have to be careful of is that you add enough water to dilute the milk so it doesn't scorch and curdles on the corn (curdles don't hurt the corn just looks weird).  I never make it the same way with spices and butter but the liquid part I keep the same because it works. 

Depending on how many people I am feeding determines if I cut my cobs in half or cook whole.  I think that when they are cut they cook faster and are juicier.  It works either way though!!!

1 c. whole milk (any milk will work but whole milk gives a sweeter taste)
1 c. water
half stick of butter sliced or whole
salt pepper to taste
No salt added seasoning blend
garlic power or freshly minced
onion powder
    * you will notice I didn't put a specific amount of seasoning and that's because its all about your taste.  We like our corn to have flavors so I add a lot of seasonings.  I add at least 1 tsp. of each EXCEPT salt and I just sprinkle a little in the inner pot.

Put the liquid and spices and butter into inner pot and then add cut cobs into liquid add lid and seal and high pressure - manual - 4 mins.  It doesn't matter how many cobs you put in the time will always be 4 minutes.

Thursday, July 27, 2017

One Pot Goulash


I hate browning ground beef in one pan and boiling pasta in another and simmering and everything else that goes along with cooking.  So when I figured out I could cook n
oodles in the instant pot without blowing the house up I haven't stopped.  This is the easiest way I have found to make it and if you really want to get crazy you can make cornbread to go with it in the instant pot.  It does take longer than in the over but it way better, it just depends on how much time you have to experiment.  I usually start the ground beef in the IP and the cornbread mixing and putting in the oven. By the time ground beef has come to pressure the cornbread is ready to go in the oven.

1st put trivet in IP liner and add 1 cup of broth of choice or 1 cup water add 1 lb. meat and season the top of meat if desired
2nd put lid on seal and cook on manual 12 mins quick release (release valve when timer goes off)
3rd remove meat and trivet and drain fat/juices off and put meat back into liner cut up check for pinkness and if still a lil pink turn IP onto saute to remove pink.
4th add 4 8 oz. cans tomato sauce
       2 cans diced tomatoes with juices
        3 cups of elbow noodles
        2 1/2 c. water or broth
        sprinkle with Italian seasoning
         salt and pepper
         add 4 minced garlic cloves or garlic powder
        chopped onion

5th  give it a good stir mix well add any other spices that you like and put the lid on manual 5 mins. quick pressure release. 

Don't be surprised if it sticks a little bit to the bottom, just make sure you stir everything well before sealing the lid on. 

Sunday, June 18, 2017

Instant Pot No Egg Cheesecake

I recently jumped on the band wagon and bought an instant pot FINALLY!!!!  OH MY GOODNESS was that the best decision I have ever made.  Not only has it made dinner easier and impossible deserts possible but it has saved my life too many times.  Cheesecake use to be one of those impossible deserts for me.  It always seemed to take forever and the kitchen had to be the right temp. and you couldn't accidently bump the stove because the center would fall and if over is too hot it doesn't turn out right.  All that being said there is always DON'T OVER MIX THE EGGS!!!!!  I always over mix and end up with scrambled eggs in my cheesecake.  YUCK NASTY and just a sad dump into the garbage. 
     So I experimented with different recipes once I got the instant pot and finally found one that sounded very simple and that I could pull it off with 3 kids running around and without the privilege of a fancy mixer.   I use to have my moms old mixer that she used when I was a kid but somewhere in our last 3 moves I have lost the base and can't seem to locate it anywhere.  So I use my husbands cordless drill with my beater.  It works great and I will continue to use it until I burn the motor out. 
     The first recipe I tried in the instant pot had eggs in it and I actually didn't over mix them, thank goodness because I gave that batch to my sister and family.  The second batch on the other hand I over mixed and it was disgusting, of course it was the batch for my family.  The look on my sons face was priceless.  He is 8 and doesn't hide his opinions very well....lol... my husband tried to tell me it was decent and I knew he was lying to me.  My 4 year old and 1 year old didn't care they ate around the scrambled eggs until the mason jars were clean. 
    I gave it a second try with the same recipe but without eggs and I even left out the crust because I hate the crust.  It turned out perfect and I made this yummy Greek yogurt topping for it instead of the traditional sour cream New York Cheesecake topping.  I could have just ate the yogurt topping and been happy.  Unfortunately it was for our Easter get together and I had to share with our entire family but I had cooked them in baby food jars so that everyone would get just a small dose of the yummy goodness.  No actually I did that so it was easy to carry around with them instead of having to cut a piece and lick their fingers and hope it doesn't fall off the knife on the way to their plate.
    I ordered a special push pan to make cheesecakes in it finally came in the mail and I decided to give it a shot for Father's Day.  It was very simple to alter the egg recipe into a no egg recipe.

                  *  I am sorry I don't have a better picture but like I said nothing last long enough


Crust
1 sleeve of crushed graham crackers
1 stick melted butter

Filling
2 8 oz. pkgs softened cream cheese
1/2 c. sugar
1 tsp. vanilla (I added extra since I wasn't using eggs)

Topping

1 1/2 c. vanilla Greek yogurt
2 Tbsp. sugar

Cooking Directions
Crush graham crackers up in food processor and then add melted butter and mix until combined.
Push it down into push pan until even.

Cream softened cream cheese until creamy and then add sugar and mix until combined well.  Add vanilla and either mix with mixer or fold it in. 

Pour filling into pan and even out, place pan on trivet and make sure there is 2 cups of water in IP liner.  I cover my pan with a paper towel and layer of foil to keep moisture out of my cake.  Cook on high pressure for 36 minutes.  QPR

Mix Greek yogurt and sugar together until sugar is dissolved and then pour over the top of cheesecake while it is still hot. 

Let cheesecake sit out for about 30 minutes and then put it in the fridge until ready to serve.  Most recipes say to let it sit overnight but a cheesecake will never last that long in my house.  It usually makes its about an hour in the fridge before someone is trying to cut into it. 

Hope you enjoy!!!!!

Saturday, February 11, 2017

Cleaning!

   So I have never been much of a house cleaner.  I just don't like it and NEVER have.  I have been looking for easy ways to clean my whole house top to bottom before I burn out.
   I think the problem is I have A.D.D my attention span is so short I sometimes can't even complete dinner.  Yes even that simple of task I fail at sometimes.  Since I am nursing my daughter there is no medication I can take for the time being.  HOWEVER,  after hundreds of failed attempts to house work completion I have stumbled upon the easiest way for me to complete it all in a timely manner.
   We live in a 2 story 2,700 sq ft house and some days I feel like I am drowning in laundry, dirty dishes and screaming kids. With the way my house is laid out I have learned to start on one end of downstairs and work my way through the lower level and then upstairs. 

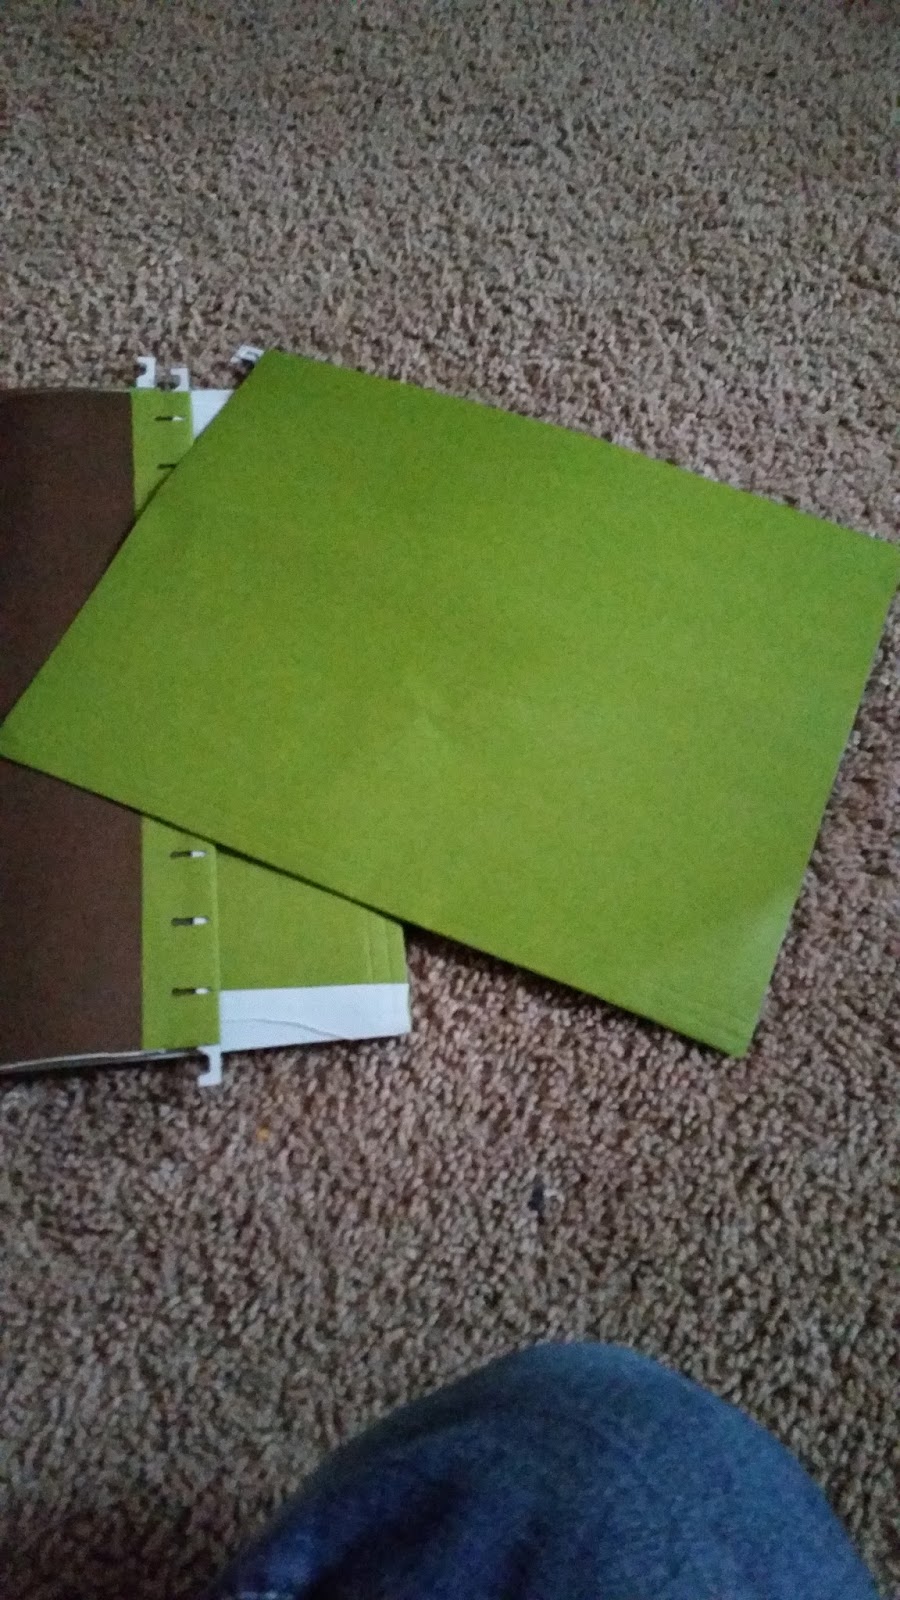
1. Laundry Room/Mud Room-  This is the room that everything gets pushed to when it needs to go out for recycle but its too cold to go out now I'll do it later (its IL and I have Texas blood).  I also have Christmas decorations boxed up ready to go to the garage sitting there waiting on my husband to move them (it might happen before 4th of July).  Needless to say its where all the homeless items go when I don't have time to deal with them or just don't want to mess with the crap. 
      * I sort laundry into each family members holding spot
               * We have 5 bags for each family member plus 1 for blankets, 1 for towels and 2 extra ones for overflow. 
2.  Downstairs hallway and bathroom-  There is no science behind cleaning the bathroom.  You just do it.  Clean toilet, bathtub, sink/countertop, mirror, sweep and mop.  My hallway has a sink so its kind of like a utility sink but not in the laundry room.  I think it was an after thought and doesn't fit in place.
3. Kitchen- I start with my dirty dishes because I don't have a dishwasher and it is the dreaded task and I hate doing them.  I do them 1st and then clean up countertops spray them down wipe them and then clean up the stovetop.  I keep a drip tray in the bottom of my oven so that I don't have to clean it.  While wiping down counters I usually put a bowl of equal parts vinegar and water in the microwave for 10 minutes and then take a rag and start wiping it out.  If it doesn't wipe off easily turn then start the microwave again and get it warmer in there so it all wipes out easily.  My kitchen table is cleaned off next, it is a catch all for things the baby puts in her mouth and I take away and mostly papers and junk mail.   Then clean up floor, sweep and mop.
4. Dinning Room- Clean off dinning room table, side tables, bookcase, floor then vacuum. 
5. Living Room- Where do I start....  I always have clean clothes on my couches and coffee table.  I fold them 1st sort in laundry baskets and take it to the stairs.  I then start cleaning up toys trash because my kids are slobs and then dust and straighten up all my tables, shelves and fold blankets, vacuum and turn on my wax warmers. 
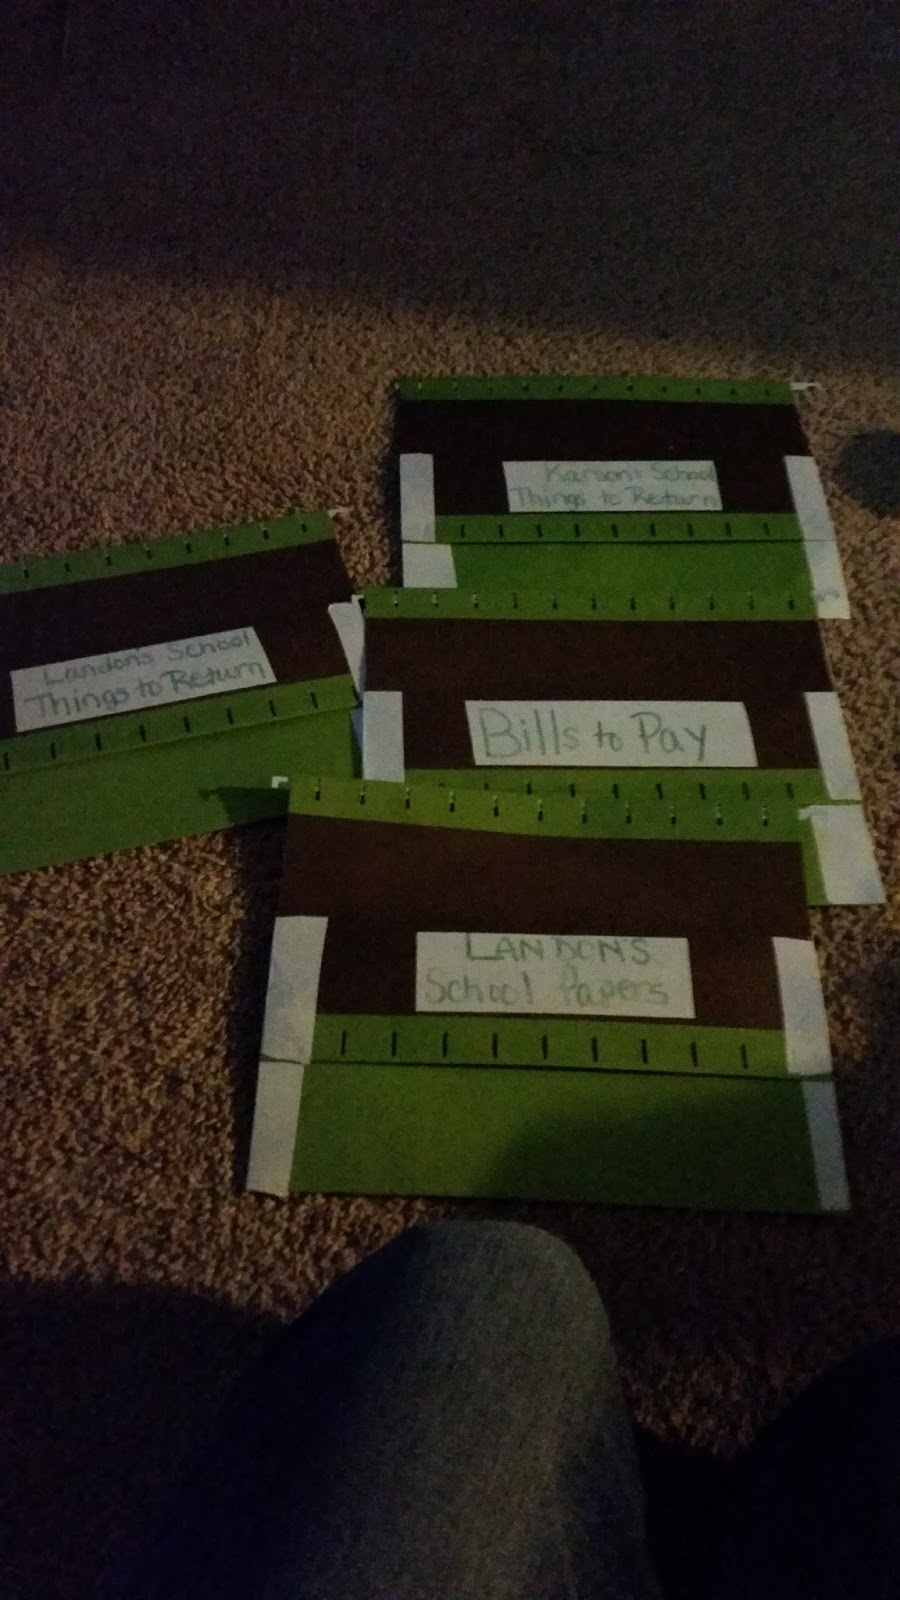
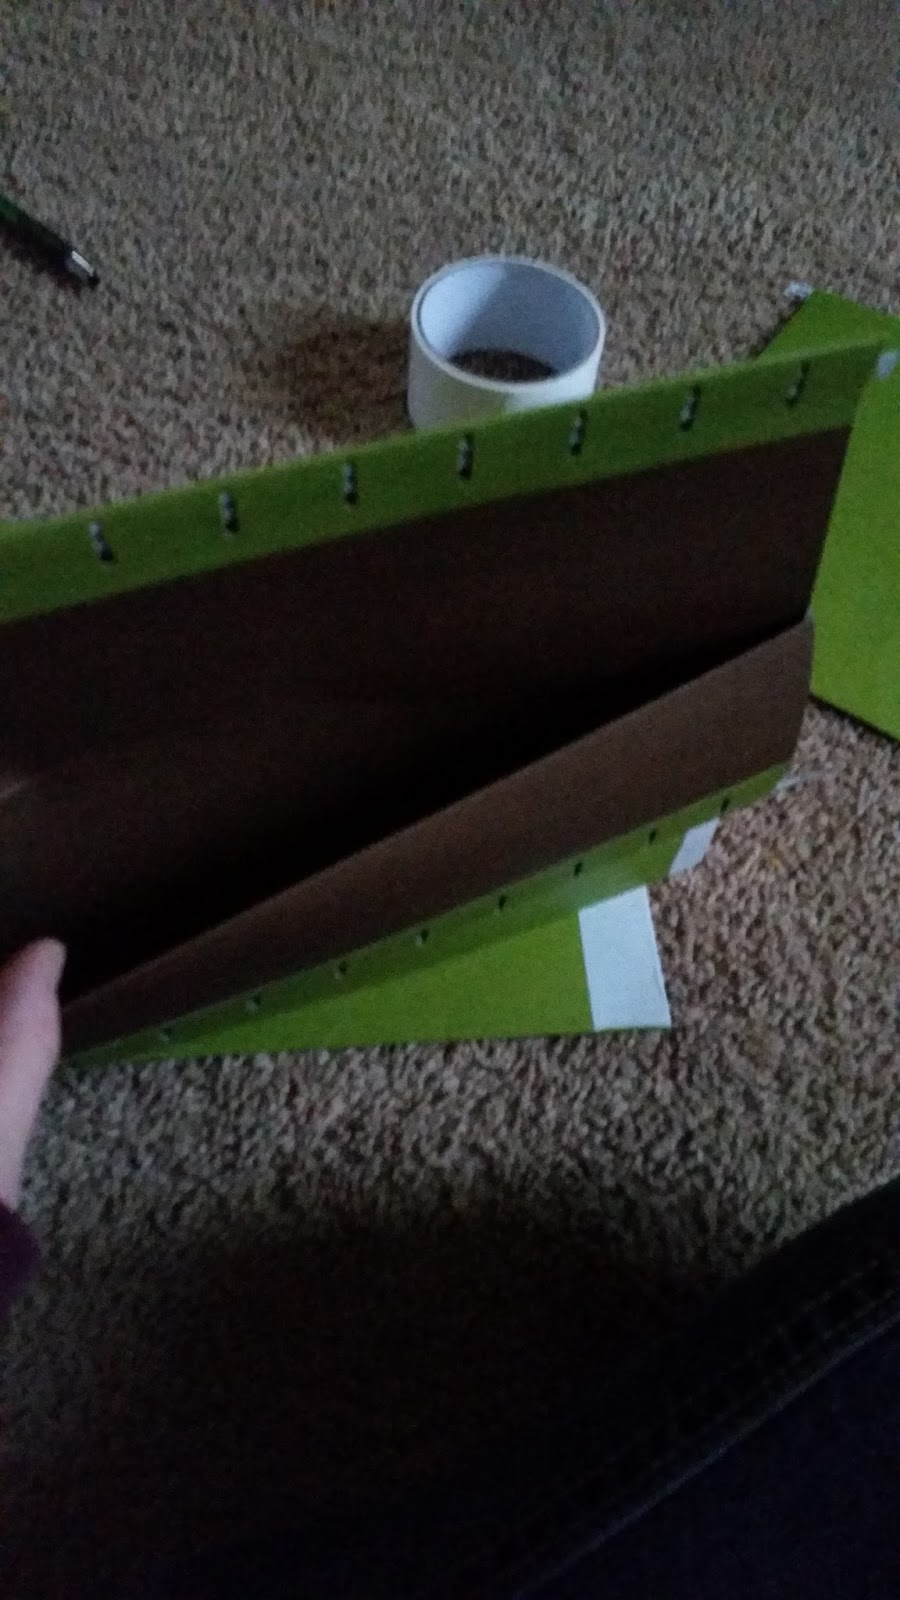
6. Computer Room- We have this weird room that has doors shutting it off from downstairs and upstairs both.  It is where everything goes that needs to be taken upstairs when I don't want to climb 15 stairs 1 way to take something up.  It is currently filled with my desktop computer,  90 gallon trash bag of clothes my 4 year old has outgrown and the baby hasn't grown into just yet, trash bags of clothes that need to go to charity and all of my paperwork, bills, office supply items and everything in between.  It is never used for anything at all. 
7. Stairs-  I pick toys up all the way up them
8. Upstairs Bathroom- This bathroom never gets enough attention.  I start with toilet clean it and then pour more bowl cleaner in and let it sit while start cleaning the sink/countertop, mirror, shower and sweep and then go back and clean toilet again before I mop.  I have to clean my toilet twice because we have well water and for whatever reason the upstairs toilet doesn't clean well 1st time around so its double duty. 
9. Master Bedroom- OH MY ...... I don't give this room the attention that it deserves.  My husband is as big of a slob as I am he just tries to hide it so he can convince me that's its all me.  It's scandalous !!!!!  I start with picking up all the clothes laying on the floor and throwing them down the stairs and this includes stripping the beds sheets and pillow cases.  Clean or dirty I don't care the sniff test is not appropriate when its other family members clothes.  Also remember if you only have one set of sheets then this would be the time to go and put them in the washer and get that started so you can get the bed ready later.  I put away any clothes in baskets that are sitting around.  After all the clothes are gone I put all the garbage in the trash bag and get that out of the way.  Then I grab one of my freshly unloaded laundry basket and fill it with things that don't belong in my room.  Usually the unwanted items in my room are my kids toys.  I dust the dressers and night stands and grab clean sheets from the closet or dryer and make the bed and call it DONE!
10. Kids rooms-  I don't clean my kids rooms on a regular basis.  This is because they are slobs and I don't want to waste my energy every week cleaning their disgusting messes.  So I will my son (8) with his room about once a month or sometimes twice.  He is pretty independent and usually keeps his room tidy UNLESS he has a friend over and they help him trash it and then he doesn't have them help him clean up before going back home.  This is his current situation and its been dragging on since New Years Day and I just told him if he doesn't get it cleaned up he is getting booted from the big kids room and moved into his sisters tiny room.  He is upstairs right now cleaning.  We will see if it actually gets finished today.  My middle daughter (4) I always help her clean up her room unless it was a mutual mess her and her brother made and then I have him help her.  We have tried the organizer shelves with the little tubes and we tried putting pictures on them to keep everything separate and it doesn't work for her room.  She likes to dump everything out at once and make big messes and never clean it.  Everything gets broken and I usually go in with a trash bag and clean.
Stuffed animal hammock was the best thing I have ever gotten for one of my kids.  I had went to a consignment sale last Spring and found one on the 50% off day and figured well I paid 75 cents for it if it doesn't work at least it wasn't $20.  IT WORKED and it amazing.  I tried hanging with push pins at first be it fell fairly quickly and we had to put screws in to keep it up on the wall.  If you can find one get it they are worth it the kids have tons of annoying animals. 

Friday, February 10, 2017

Simple Orange Chicken

My husband and I like to get Chinese takeout but its a 20 minute drive one way and its expensive.  We can never agree on the same food so we always spend $30 plus dollars between meat dishes, fried rice and chow mien of course.  My husband LOVES shrimp fried rice and could honestly do without everything else.  I personally have to have some kind of breaded chicken and sweet gooey sauce.  I stick with orange chicken unless we are at a buffet and I can see everything first.  I like to try different things when I am not paying $7-$12 a dish for something I don't like.  So since we are trying to save money for m husbands layoff coming up in the next month and not knowing when the last day will be we are trying to stop eating out at our favorite places and trying to mimic the dishes at home.  


  I like to make 1 dish meals as often as possible and always looking for a way to use my oven verses the stovetop.  So in this dish I just took 3 enormous semi thawed chicken breast and chopped them up into decent sizes and tossed into a baking dish with black pepper, steak seasoning (I use on everything), cayenne pepper and red pepper flakes.  I put it in the oven at 375 degrees until it was cooked juicy looking.

 I added diced frozen bell peppers and frozen broccoli and put it back in the oven until it was no longer frozen but the broccoli was still firm.  Pour off the juice in the baking dish so the sweet mixture your are about to pour over it doesn't get too watery.


 I mixed 3/4 to 1 cup of orange marmalade jelly and equal parts BBQ sauce of your liking and mix together well until it thins out some and pour over the chicken mixture and put back in the over and turn the heat up to 400 degrees.  After about 10 minutes stir mixture all up and let it cook for about another 15 minutes.  I don't have the patients to wait for it to cook down and thicken so I take it out and serve. 

My 8 year old son refuses to eat Chinese food when we order out but he ate this like it was his favorite dish.  We trick him into eating new things because I don't want him going to college only eating chicken nuggets and French fries.  You have no idea how picky my 8 year old is with food.  He will go to bed hungry before he eats something that has any spice or ONIONS in it, even if we tell him its not onions its celery or something else that kind of looks like an onion he refuses it.  He is stubborn like his parents.  He can't help it really.


Thursday, February 9, 2017

Wall Folder Organizer

My kitchen table gets cluttered with papers and mail everyday.  Mostly junk mail and papers my son unloads from his backpack after school.  I put together this folder system based off a system I had seen in a store and figured I could pull it off cheaper.

 I had some extra file folders in my filing cabinet that I just pulled the metal hooks from the back and left them in the front. I used some duct tape that I had left over from my daughter's 1st birthday last month and cut a piece long enough to reach from the fold in the folder to the end of the folder.  I put half of it long ways on the front and then folded it over onto the backside making 1 piece seal up the entire side of the folder.  I did not take very good pictures so I am hoping my instructions are making sense. 


I folded the front of the folder down at the fold mark that was already on there.  I placed a piece of tape on the folded down part so that I could write what was supposed to go into the folder. 


I left the metal piece in the back because I hadn't decided how I wanted to hang them just yet.  I was originally thinking I was going to hook them to each other and descend them down but my engineering skills are lacking this week.  So I am thinking I may attach them to each other using ribbon through the holes already provided and a hole punch.  As you can see I am not making these for the looks, I was merely looking for something functional, frugal and simple concept for my 8 & 4 year olds.  If you have some pretty duct tape feel free to wrap these folders.


After you attach the duct tape on the sides it makes a pocket as you can see in this picture.  I wanted something that my 8 year old could put his stack of papers in every night when he gets home and it wont wear quickly. 
There are numerous different systems out there that you can purchase premade ready to hang and use.  It just wasn't in my budget at this time and this system was much more costly for me. 

* I will update you when I decide how I am hanging the folders this weekend. 


Monday, February 6, 2017

Chore Chart for Kids with Magnets

  Our family struggles to stay organized.  My husband usually stays back and lets me handle things unless it seems I can't or I ask for help.  That being said, its not always the best idea.  We have 3 kids 8,4,1 and I am home with my 4 year old and 1 year old everyday all day and that's my choice and I wouldn't trade it for anything.  However, help would never be turned down if decided to cook dinner or give baths, I would accept with no questions.   My 8 year old son tends to wait for someone to tell him to do his homework, clean his room, take a bath, fix your hair, etc. he never just does what he is supposed to be doing without guidance.  So now that he is in 2nd grade and struggling a bit with remembering to bring his homework home or to read his library books and to actually pass the test he takes I decided it was time to things in order before I pull all my hair out.  My family does best when mommy is happy, when my stress starts to show everyone is affected and that usually happens when life gets unorganized (90% of the time) .  I have tried to work with my sons teacher with getting his school life organized and all I get from her is "well I tell them to do this"  well its hard for the PARENTS to remind them of something when its not wrote down on the homework, in a planner or on something somewhere that is sent home with the HOMEWORK.  She is a yeller and my son tunes out yelling (I yell sometimes and he ignores me).  Now let me tell you a bit about our school so you understand how ridiculous her yelling is for the kids.  Our school is a very small town school and goes from grades K-8th and the entire school has a max of 75 kids and 1 teacher per grade the principle is the superintendent.  Very small classes and my sons class has a total of 10 kids in it.  So if she is always yelling at them before she is a loud lady my son is not ever listening to her babbling.  Last year was amazing his teacher was incredible and I wish she had of moved up with the kids.  She made them planner binders that had news for the month when tests were for the whole month and spelling word list for the week, a homework folder, a place for papers to be returned and if something changed parents were notified not just the kids.  So back to the chore chart idea, I was thinking that since my son is about to have a minor surgery and miss 3 days of school minimum it was best to get him organized before this happens.  So I was looking into premade systems that I could by with the stickers or the clear pockets that you put the cards in and at the end of the week there was a prize.  But they are a bit expensive and my husband gets laid off twice a year spending $50+ on one of these systems is not a smart idea. 

     I liked the idea of hanging things on the wall that can be seen all the time instead of something that can be stuffed in a drawer or something more to clutter my kitchen table. So I decided to go with the baking sheet system plus it gave me a reason to get a new baking sheet if I use my old one for the wall. HEHE!!!!  So I went out and got a package of round magnets they are called magnetic buttons and my package had 52 magnet buttons that were 3/4 inch (19mm) diameter.  I also picked up some foam sheets for 97 cents to cut out and write the chores on.  I wrote on the foam first before cutting to make sure I was writing small enough but big enough to read what it said.

 
      I used white duct tape that I already had to separate the TO DO side and the DONE side.  I hot glued the magnet buttons to the cutout foam that I had wrote on (don't touch the buttons while putting hot glue on them they get really hot). 


      You will notice that there are different colors of foam and that is because I broke them down into categories,  Orange is chores that need to be done around the house, blue are personal things that need to be handled on a daily basis and green are chores that are done daily for school and when we go places.  I also purchased a package of color coded popsicle sticks that when these are completed they have rewards on them or if they are not completed they have consequences on them.  Meaning that at the end of the day if there are still things on the to do side there are sticks that match the chore still there.  Some of the consequences are more extreme than the others ex: no sleep overs with grandma and papa.  These are more for bad report card grades than for this system.  I have them in a separate jar. 

       If you don't have a baking sheet you can spare and need  to purchase one I have bough baking sheets for camping at the dollar store where everything was a dollar.  That is also where I bought the duct tape from as well. 
Happy chore planning.